A lip mask container determines how the formula is filled, picked up, spread, and kept clean after repeated use. Jars and dispensing tubes can both work, but they suit different textures and application routines.
KAIYA develops jars and selected dispensing formats with matching applicators, materials, colors, and finishes. Start with formula behavior and application, then build the visual design around a suitable structure.
Quick overview:
- Formula fit: define how the mask flows, holds its shape, and spreads.
- Container route: use jars for open pickup or selected tubes for controlled dispensing.
- Applicator: match the spatula, direct tip, or wand to the intended dose.
- Visual design: coordinate material, transparency, color, and decoration.
- Final approval: test the filled, decorated, and packed product before bulk production.

1. Translate Lip Mask Formula Behavior into Packaging Requirements
“Thick” alone is not a sufficient packaging brief. Two formulas with similar viscosity can behave differently when scooped, squeezed, exposed to warmth, or left on a vertical surface. Buyers should describe the actual behavior that the container must support.
- Dense balm-mask: holds its shape, may need a firmer scoop, and usually benefits from a wide jar opening.
- Cushiony gel-balm: can show strings or peaks during pickup, so the opening, spatula edge, and rim-cleaning experience matter.
- Soft cream-mask: may suit either a jar or a controlled dispensing format, depending on flow through the outlet and the intended dose.
- More fluid overnight treatment: needs stronger attention to outlet control, cap cleanliness, orientation, and closed-package evaluation.
Before sampling, share the target fill weight, formula density, filling condition, settling behavior, and intended storage orientation.
2. Choose a Jar When Open Access Supports the Formula and Ritual
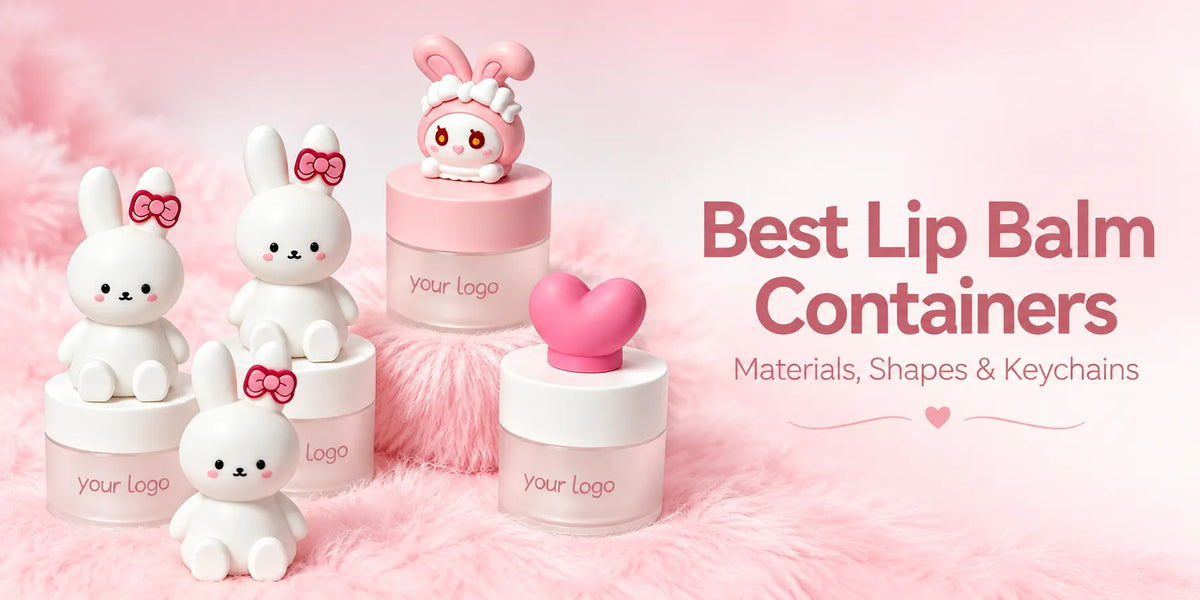
A lip mask jar is the most direct route for a rich, scoopable formula because the user can reach the full formula surface. A low, wide jar creates generous visual exposure and shorter pickup depth; a taller jar can create a compact footprint but requires the finger or spatula to reach farther as the product is used. The useful opening diameter therefore matters more than the outside diameter alone.

Jar evaluation should cover the body, cap, thread, sealing interface, liner or inner disc where used, and the space occupied by the formula and applicator. The selected fill weight should leave deliberate headspace without making the package appear underfilled. After filling, confirm whether product is pushed toward the thread, whether the cap seats consistently, and whether the formula surface still presents well after transport.

Cosmetic jar packaging also gives brands more freedom to present a premium nighttime ritual. That benefit is strongest when the opening, tool, and closure feel like one coordinated system rather than unrelated parts.
3. Choose a Dispensing Tube for Controlled, Direct Application
Compared with a jar, a tube changes the routine from open pickup to controlled dispensing and creates a more portable format. That benefit depends on the real formula flowing without excessive squeeze force, delay, or a sudden surge.

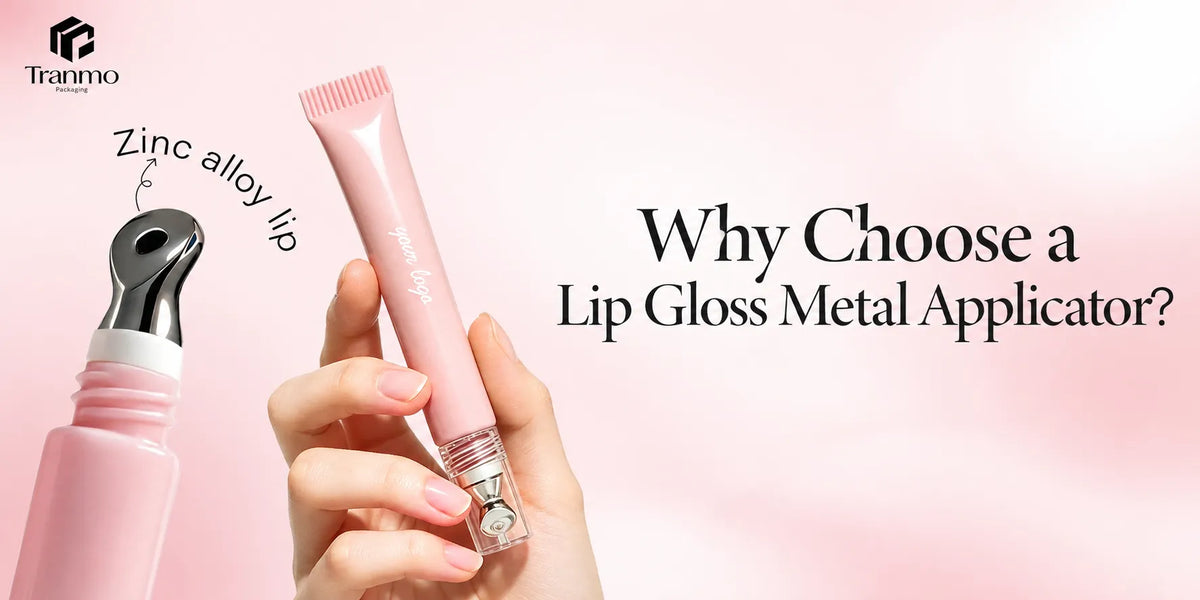
In a flexible squeeze tube, body resilience, outlet size, cap, filling access, and tail seal work as one system. A narrow outlet can improve dose control but may restrict a cohesive formula, while a larger outlet reduces resistance but may release too much product. A slanted or rounded tip can support direct application when its surface, outlet, cap clearance, and cleaning behavior work together.

Suitable softer treatments may also use a rigid reservoir with a wand and wiper. In this system, the applicator places the formula while the wiper controls the amount withdrawn. It creates a different application experience from a flexible squeeze tube, and availability depends on the selected KAIYA component.
4. Compare Jar and Tube Routes as Complete Systems
| Decision | Jar route | Dispensing tube route |
|---|---|---|
| Formula access | Open access for dense, scoopable, or shape-holding textures | Formula must travel through a defined outlet or matched wiper system |
| Dose | Controlled by the finger or spatula width and pickup technique | Controlled by squeeze force and outlet size, or by applicator and wiper fit |
| Visual display | Can show a broad formula surface and premium wall depth | Supports a slimmer, portable silhouette and direct-use message |
| Production focus | Opening cleanliness, fill level, thread, cap seating, and tool layout | Filling access, outlet behavior, closure, tail seal or wiper fit, and repeated dispensing |
The better structure is the one that preserves formula access and the intended routine at the target fill weight. Portability, decoration area, packing method, and cost should refine that decision rather than reverse it.
5. Develop the Applicator around Dose, Spread, and Storage
For a jar, a spatula should be selected by function rather than added as a generic accessory. A narrow flat edge can lift a small amount of dense balm, while a wider rounded or curved profile can support smoother pickup and spreading. Tool length must clear the jar wall and reach the formula as the fill level drops. Its thickness and flexibility should feel controlled against the real formula.

Storage is equally important. A spatula placed inside the jar needs confirmed internal space and must not interfere with the formula or closure. A lid-mounted or dedicated holder requires a compatible structure. A separately packed tool needs an insert, pouch, or carton position that keeps it with the product. These routes should be chosen early because they change jar height, cap clearance, assembly, and packing.

For direct-application tubes, evaluate lip contact area, edge comfort, outlet position, residual formula on the surface, and whether the cap closes without touching excess product. For wand formats, compare applicator shape, stem, wiper restriction, withdrawal force, load, and neck cleanliness together. A spatula, fixed tip, and wand solve different dosing tasks and should not be described as interchangeable.

6. Select Materials for Structure, Appearance, and Project Compatibility
Material choice affects wall thickness, weight, transparency, color, decoration, shipping, and formula-contact components. It should be specified by component because a jar body, cap, liner, applicator, and tube body may use different materials.
- PP: commonly considered for molded jars, caps, and inner components where a lightweight structure and molded color are useful. The exact resin grade and formula-contact role still require project review.

- PETG or related clear copolyester: can provide high clarity, gloss, toughness, and visual depth in suitable thick-wall rigid components. Final impact performance still depends on the grade, wall design, molding, assembly, transport conditions, and testing.
- Selected glass: adds genuine material weight, strong clarity, and a cool, rigid feel for suitable small-jar projects. Shipping protection, component matching, surface variation, and filled-package handling need to be evaluated.

7. Use Transparency to Show Texture without Losing Visual Control
A clear cosmetic container makes formula color and texture part of the design. Full clarity gives the strongest view; translucent color retains depth with more visual control; frosting creates a softer appearance.

Judge the transparent body after filling because formula color, bubbles, fill height, smears, dust, scratches, and molding details become more visible. Thick walls add visual depth, but the internal cavity still determines the actual capacity.

For formulas requiring light protection, use an opaque or partially transparent direction based on the formula owner's stability requirements.
8. Build Color and Decoration in Layers
Use color to clarify positioning and SKU roles.
- Pink and rose feel warm and care-led; cream, white, and nude are quieter; lavender and blue can support a nighttime story; amber and honey tones complement balm-like formulas; brighter colors suit playful ranges.

Brands can combine an opaque cap with a clear body or use cap and logo colors to separate SKUs. Approve color on the final substrate because PP, clear copolyester, coatings, and glass produce different results.
- Molded color: integrates color into a suitable plastic component and is useful for stable body or cap color directions.
- Spray coating: can create selected opaque, translucent, frosted, gloss, matte, or tactile surface effects on compatible components.

- Silk screen printing: suits clean logos and selected spot-color graphics, subject to curvature and print area.
- Hot stamping: adds a controlled metallic logo, rim detail, or accent where the geometry and substrate allow stable transfer.
- Vacuum metallization: can create a reflective metallic surface on selected plastic parts; it is a surface process and should not be presented as an aluminum component.
Approve decoration on physical parts in the final material and color. Check artwork scale, curvature, registration, adhesion, metallic edges, and contact marks from assembly and packing.
9. Approve the Filled and Decorated Package before Bulk Production
A filled sample reveals what an empty component cannot. Review filling, headspace, settling, pickup or dispensing, residue, closure, applicator storage, decoration, and packing under realistic storage and transport orientations. Record the approved material, color, finish, artwork, component set, fill weight, and packing method for production and repeat orders.
KAIYA supplies lip care packaging in jar and selected dispensing formats, with custom colors, finishes, applicators, samples, and production support. Share your formula, target capacity, preferred format, design direction, and quantity to start your project.